Metadata
-
Date
-
Tagged
-
Older post
-
Newer post
Pagination in GatsbyJS

A page that lists all your posts can get incredibly long as more posts are added.
Pagination offers a solution to that problem. You can break up that single, long page into multiple, smaller pages.
This article will show you how to add pagination to your GatsbyJS site.
Create listing pages
Create a new file in src/templates/ that will serve as a blueprint for every page that lists a few posts.
If you already have one, the current component you use to list all the posts can often fulfill this role.
Calculate the amount of pages you need to display all posts (numPages), with postsPerPage as a maximum amount of posts to display on a single page.
In gatsby-node.js create that amount of pages with your template.
The path for each page will be /<number>, with an exception for /1, that page will use / instead.
// Create blog post list pagesconst postsPerPage = 2;const numPages = Math.ceil(posts.length / postsPerPage);
Array.from({ length: numPages }).forEach((_, i) => {  createPage({    path: i === 0 ? `/` : `/${i + 1}`,    component: path.resolve("./src/templates/blog-list.js"),  });});
Get data to those listing pages
You can pass data to the pages you created via context.
Array.from({ length: numPages }).forEach((_, i) => { createPage({ path: i === 0 ? `/` : `/${i + 1}`, component: path.resolve("./src/templates/blog-list.js"), context: { limit: postsPerPage, skip: i * postsPerPage, numPages, currentPage: i + 1, }, });});The context object will be available in the created pages on the pageContext prop in React. You will also be able to access the keys in your GraphQL query for those pages.
import React from 'react'
class BlogList extends React.component {  console.log(this.props.pageContext)  render() {    return ( /* your code to display a list of posts */)  }}
Query GraphQL for wanted posts
Use limit and skip to only fetch data for the posts you want to show.
export const pageQuery = graphql` query blogPageQuery($skip: Int!, $limit: Int!) { allMarkdownRemark( sort: { fields: [frontmatter___date], order: DESC } limit: $limit skip: $skip ) { edges { node { excerpt frontmatter { date(formatString: "DD MMMM, YYYY") title } } } } }`;Navigate to previous/next page
You can use currentPage and numPages to determine the routes to the previous/next page.
They also make it possible to only show those links if they exist.
import React from 'react'import { Link } from 'gatsby'
class BlogList extends React.component {  render() {    const { currentPage, numPages } = this.props.pageContext    const isFirst = currentPage === 1    const isLast = currentPage === numPages    const prevPage = currentPage - 1 === 1 ? "/" : (currentPage - 1).toString()    const nextPage = (currentPage + 1).toString()
    return (       /* your code to display a list of posts */      {!isFirst && (        <Link to={prevPage} rel="prev">          ← Previous Page        </Link>      )}      {!isLast && (        <Link to={nextPage} rel="next">          Next Page →        </Link>      )}    )  }}
Add numbering
Iterate over numPages and output a number with the relevant link.
class BlogList extends React.component {  // ...  render() {    const { currentPage, numPages } = this.props.pageContext
return ( // ... {Array.from({ length: numPages }, (_, i) => ( <Link key={`pagination-number${i + 1}`} to={`/${i === 0 ? "" : i + 1}`}> {i + 1} </Link> ))} // ... ) }}Example
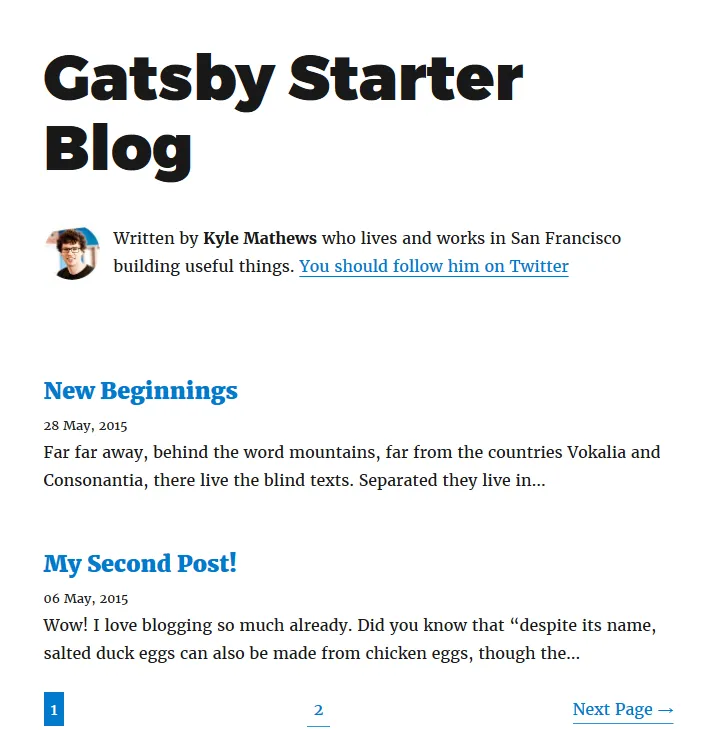
As an example, I converted the standard gatsby-starter-blog (demo) to work with pagination. gatsby-paginated-blog (demo)
