Metadata
-
Date
-
Tagged
-
Older post
-
Newer post
Linting and formatting CSS

We’ll set up linting and formatting for our styles.
In a previous post I went over how to lint and format your JavaScript. Now, we’ll obtain similar superpowers for our styles (CSS, SCSS, Less, sss, …). We’ll use Stylelint as our linting tool and Prettier as our (main) formatting tool.
Initial Setup
You don’t need any fancy setup to start linting your styles.
The tools we’ll use are on npm, we’ll define those in a package.json file. The rest of the demo-application I’m using for this consists of a single index.html, a styles.css and a configuration file for Stylelint.
We’ll generate a basic package.json so we can install the tools we want to use.
npm init -ynpm i -D stylelint prettierWe’ll install a popular set of rules for stylelint
npm i -D stylelint-config-standardTo configure StyleLint to use those rules,
create a .stylelintrc.json file in the root directory and tell it which ruleset to extend.
{ "extends": ["stylelint-config-standard"]}It works! 🎉
Don’t take my word for it, let’s see.
Add this line to your package.json
"scripts": { "test": "echo \"Error: no test specified\" && exit 1", "lint:css": "stylelint *.css" }You can now run npm run lint:css in the terminal and stylelint will run for every .css file it finds.
If it finds errors, you will see a bunch of npm ERR!s in the console, don’t worry, that’s expected, the linting errors it found are above them.
If you would prefer not to see all those npm errors, you could also run that command without using that script we just declared.
./node_modules/.bin/stylelint *.cssAdd Prettier
Our styles should have consistent formatting, that will make them easier to read. We’ll set up Stylelint to report formatting issues that Prettier picks up. stylelint-prettier does exactly that.
npm i -D stylelint-prettierAnd add it to .stylelintrc
{ "plugins": ["stylelint-prettier"], "rules": { "prettier/prettier": true }, "extends": ["stylelint-config-standard"]}When you run lint:css now you’ll see additional errors reported by the prettier/prettier rule.
It’s possible that the rules inside your extends array, or rules you define explicitly conflict with Prettier, causing a catch-22 situation.
We’ll turn off all Stylelint rules specific to formatting and let Prettier handle them, by adding stylelint-config-prettier.
npm i -D stylelint-config-prettier{ "plugins": ["stylelint-prettier"], "rules": { "prettier/prettier": true }, "extends": ["stylelint-config-standard", "stylelint-config-prettier"]}Displaying those errors in your editor (in realtime!)
Everybody loves red squiggly lines in their code editor (somewhere else, and you probably typed a word your dictionary doesn’t know. Like “hello” or something stupid like that.)
Install a Stylelint plugin for your editor. I’m using VSCode, so I picked the aptly named sylelint one.
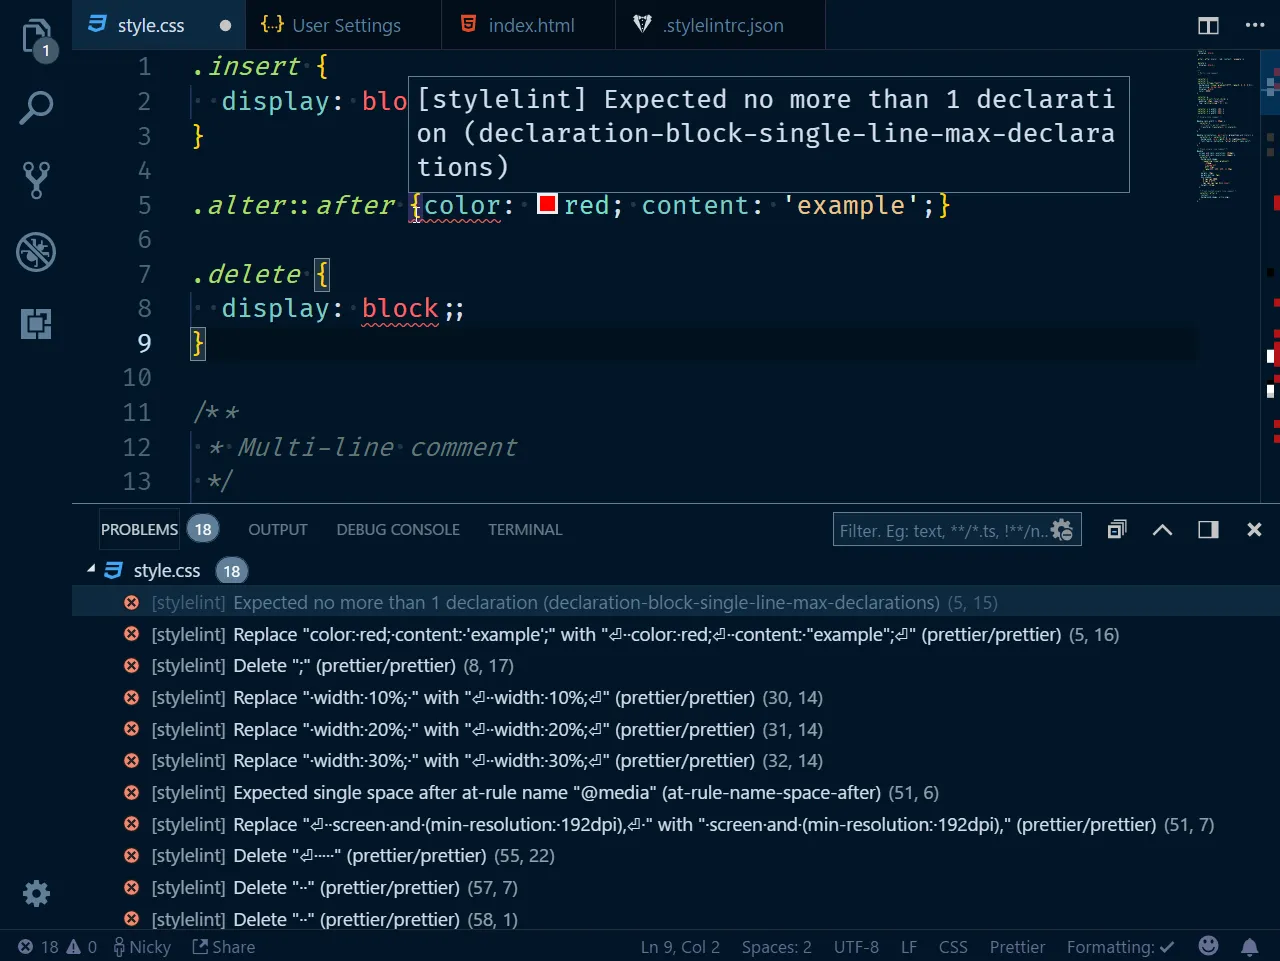
You will now see the errors listed inside the PROBLEMS tab and there will be red lines underneath each one right in your code.

Automatically fix problems
Many issues (especially the formatting ones) are able to be fixed automatically.
The only thing that’s needed is to add the --fix flag to our script.
"scripts": { "test": "echo \"Error: no test specified\" && exit 1", "lint:css": "stylelint *.css --fix" }When we run lint:css now, stylelint will automatically try to fix every issue it can.
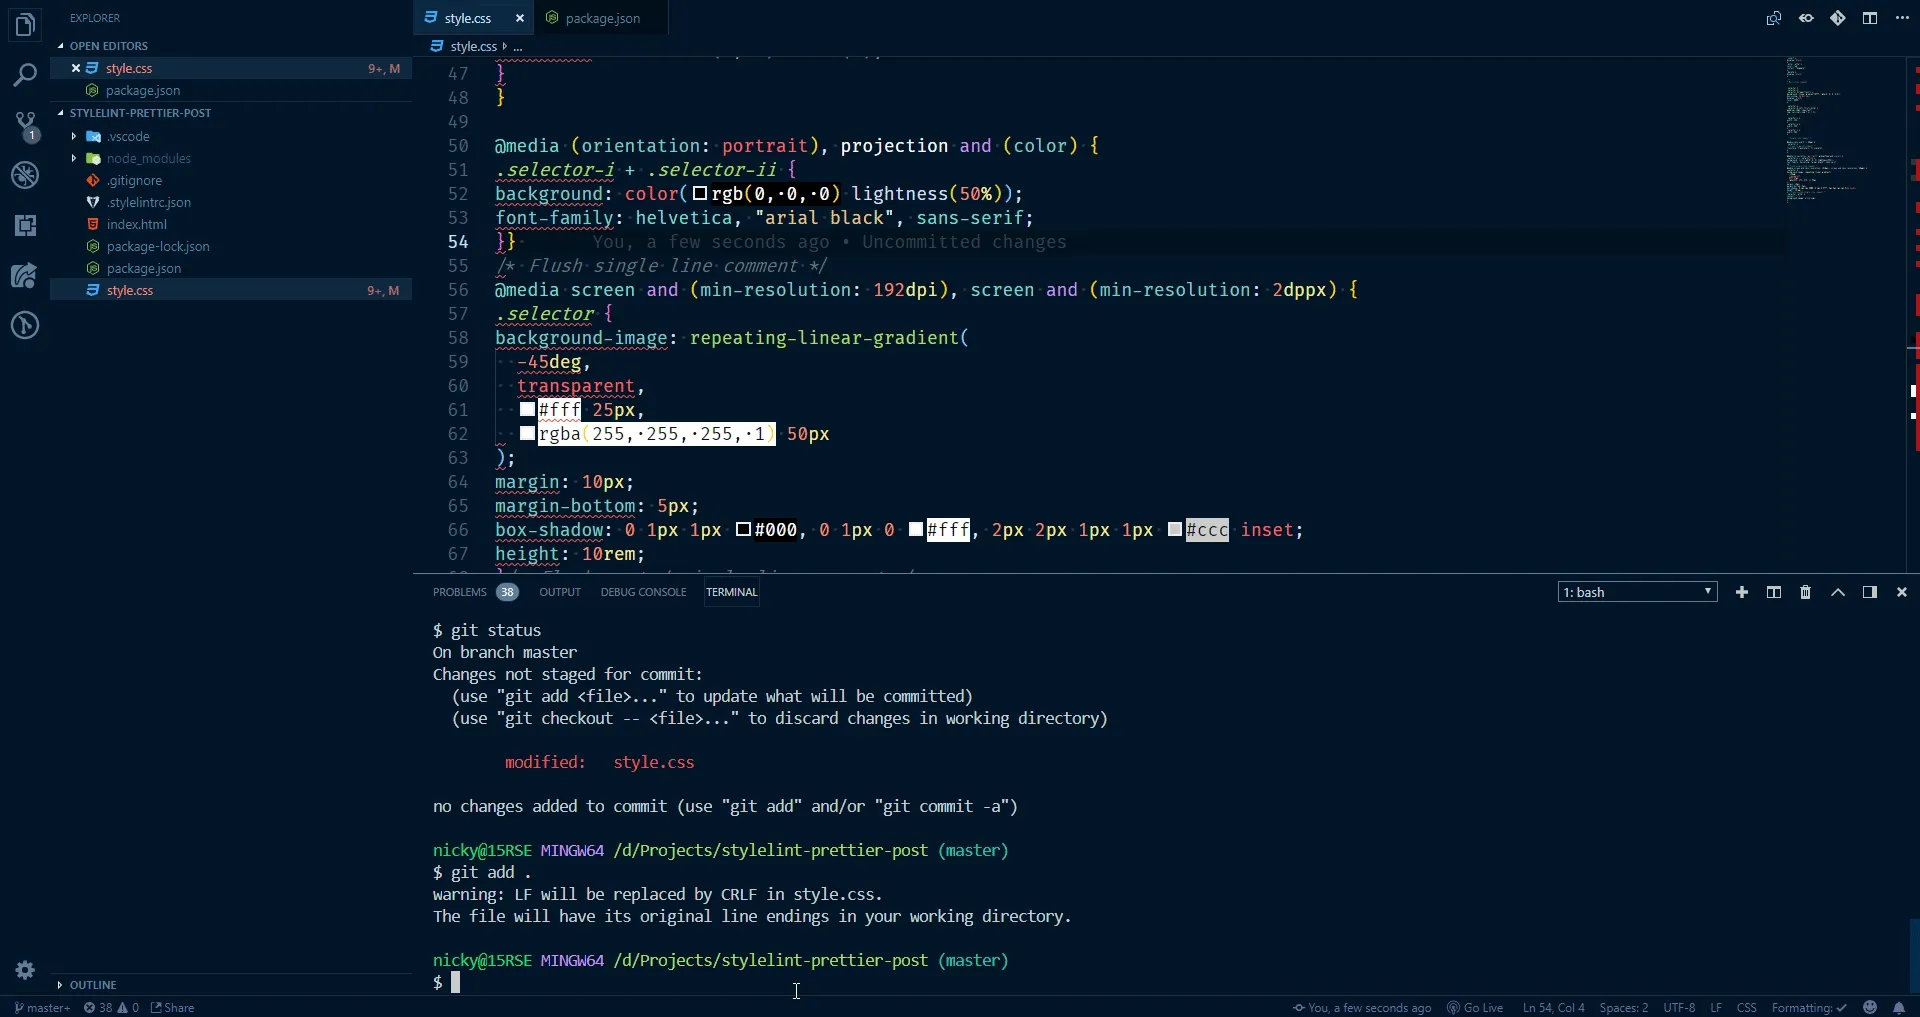
This won’t result in the PROBLEMS tab being empty now, but the list of problems will be much smaller.
While it absolutely isn’t, to me this feels like
 .
.
Never forget to fix problems
Very neat, but if you’re anything like me, you’ll forget to do this from time to time. That’s why we’ll set up a way to automatically run the command above.
We’ll hook into git using a package called husky and tell it to run our command before each commit.
This has the added benefit of that command running for everyone that commits code.
To minimize the time this takes, we only run the command for files that are currently staged in git. This is a huge time-saver (especially for larger projects).
npm i -D husky lint-stagedin package.json
Tell husky to run lint-staged right before you commit code to your git-repository.
Configure lint-staged to run stylelint --fix on any .css file that is going to be committed.
This will (potentially) change that file, the file will be added to git again afterwards!
"husky": { "hooks": { "pre-commit": "lint-staged" }},"lint-staged": { "*.css*": [ "stylelint --fix" ]}