Metadata
-
Date
-
Tagged
-
Older post
-
Newer post
Automation with GitHub Actions

GitHub Actions provide a way to automate several workflows/tasks.
GitHub Workflows allow you to run a workflow on specific triggers.
A trigger happens, and the workflow associated with that trigger runs. You can configure a workflow to start when a GitHub event occurs, on a schedule, or from an external event.
Like git hooks, I think of it like automated sliding doors. When the sensor sees you, the doors open.
Some examples of things to do in a workflow: deploying a website, testing a codebase, bundling/compiling some sourcecode, …
Is it Workflows, or Actions?
While the branding focusses on the term “Actions”, what the section above described were Workflows.
A workflow is the entire process that performs certain tasks in response to a trigger. Workflows are made up of one or more jobs.
A job is a named set of steps, completing all steps completes that job.
A step is the smallest piece in this chain. That step executes a single (terminal) command, or an action.
Workflows
These workflows are described by .yml files located in the .github/workflows directory.
Those files describe exactly how that workflow runs and can contain a bunch of logic that defines when/if certain things happen. By default, Workflows will run on a machine hosted by GitHub (called a runner).
Workflows can run in Linux, macOS, Windows, and containers. Alternatively, you can also host your own runners to run workflows on machines you own or manage.
Using GitHub Actions is free for public repositories, private repositories include some free usage minutes by default. For more details, check out the pricing page.
The GitHub Marketplace is a central location to find, share, and use Actions built by the GitHub community.
The official actions are opensourced. When you visit a repository for an action, a banner invites you to use it in your Workflows.

First Github Workflow
Create a .github/ folder at the root of a (GitHub) repository.
Create a workflows/ folder inside.
YAML files inside will describe GitHub Workflows. A repository can have more than one workflow, thus, more than one file.
The naming of this file is not important.
The following workflow is a fairly barebones one that doesn’t use any Actions.
It’s named Wisdom and executes on every push to the master branch.
The Workflow has a single job, which is (arbitrarily) named veryImportant and uses the latest version of Ubuntu as operating system by setting the value of the runs-on setting for that job.
The job has a single step, that step is named again and executes a command in the terminal of that Ubuntu machine.
name: Wisdomon: push: branches: - masterjobs: veryImportant: runs-on: ubuntu-latest steps: - name: Important message run: echo "Every 60 seconds, a minute passes."
A bit more advanced (and serious)
The Workflow below automatically builds and deploys my website on every push to the master branch.
It uses the checkout action to checkout the relevant branch of the repository (in this case, master).
To build (and afterwards deploy) the website, some tools and setup are needed. Luckily, the GitHub-hosted runner comes with some pre-installed software so I don’t have to install everything manually before using it.
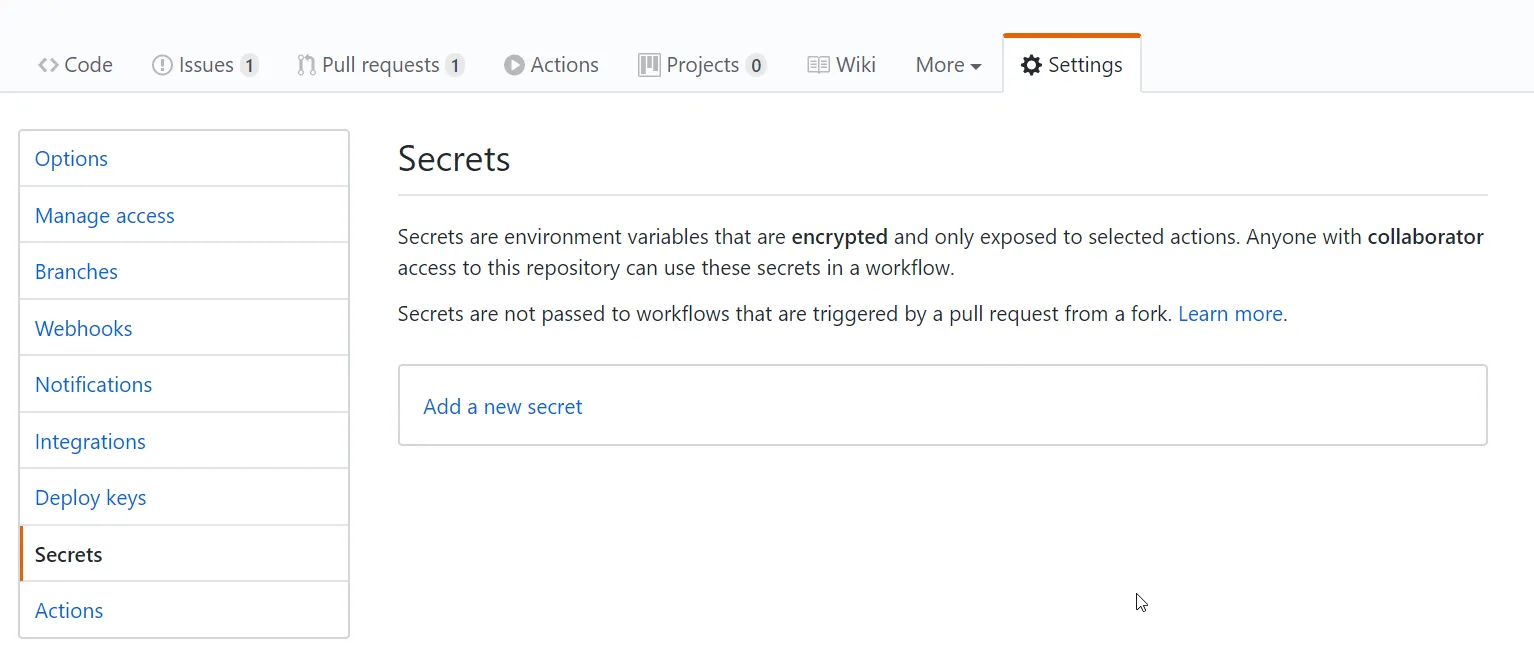
Some environment variables are needed, to identify which site I’m trying to deploy to, and to determine if I even have the permission to do so. These tokens are pulled from this repo’s secret section on GitHub.
It’s not a secret 🐱👤 section as in: shhh, stay very quiet
It’s literally called “secrets” in the GitHub settings

Finally, this workflow uses the netlify-cli package through npx to publish the output from the build step to production.
name: Continuous Deploymenton: push: branches: - masterjobs: deploy: runs-on: ubuntu-latest steps: - uses: actions/checkout@v2 - name: Install Deps run: yarn - name: Build Site run: yarn build - name: Deploy Site env: NETLIFY_SITE_ID: ${{ secrets.NETLIFY_SITE_ID }} NETLIFY_AUTH_TOKEN: ${{ secrets.NETLIFY_AUTH_TOKEN }} run: npx netlify-cli deploy --dir=public --prodTake it up another notch
While YAML is not a fully fledged programming language, you can use it to describe complicated logic to use inside your workflows. By default, every job runs in parallel, but they can be configured to depend on another job and run in series.
Benjamin Lannon made a lightbulb change color to green or red, depending on the success of a step in a workflow.
Create your own Action
While there are a bunch of awesome Actions already out there, the best ones are always the ones you made yourself. And, you can totally do that!
That lightbulb that changes color uses the lifx-trigger-action Benjamin wrote himself!
Artifacts
During these workflows, some file may be created as a result of building/testing/…
For example: screenshots, a code coverage report, a .json file filled with links of cute puppies, you name it!
Those files are called artifacts Artifacts are associated with the workflow run where they were created and can be used by another job or deployed. They can even be persisted and shared between workflow runs.